Getting Started
Pavtube MKV Converter is an easy-to-use program, which just needs several clicks to complete the conversion. 
Basic steps for converting videos with Pavtube MKV Converter:
1. Import the files by clicking the “Add” button ![]() or dragging and dropping files to the “Getting Started” area.
or dragging and dropping files to the “Getting Started” area.
2. Click the “Edit” button ![]() to adjust the videos for your requirement.
to adjust the videos for your requirement.
3. Select the format you need and specify the position in which you save your videos.
4. Click the "Convert" button![]() to start conversion.
to start conversion.
Import Video Files
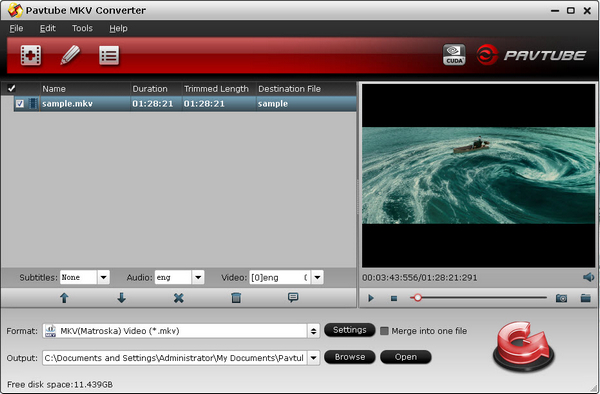
When you start up Pavtube MKV Converter, the main interface pops up as below:
Load video files to the software using any of the three ways below:
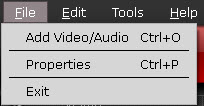
- Click “File” menu, and select “Add Video” to import source MKV video files.

- Find “Add” icon
 in the toolbar and click it to import the files to the file list.
- Open the folder that contains source files, and drag and drop video, audio and image files to “Getting Started” area.
Supported video formats: *.mkv ONLY.
Select certain chapters to convert

Pavtube MKV Converter is able to read all chapter info in a source MKV file (Blu-ray or DVD backup in an MKV container always has chapter info). Once the source files are loaded, click the “plus” icon before the file name to unfold chapter info. Then you are allowed to tick off your wanted chapters to convert at will. See below:

Select wanted subs/audio/video track to be kept in output files
Pavtube MKV Converter is updated to recognize all subtitles/audio tracks and video streams in an MKV container file. You can click on the dropdown list of Subtitles/Audio/Video to choose the track you want to preserve. See above screenshot.


 Home
Home


