
 Home
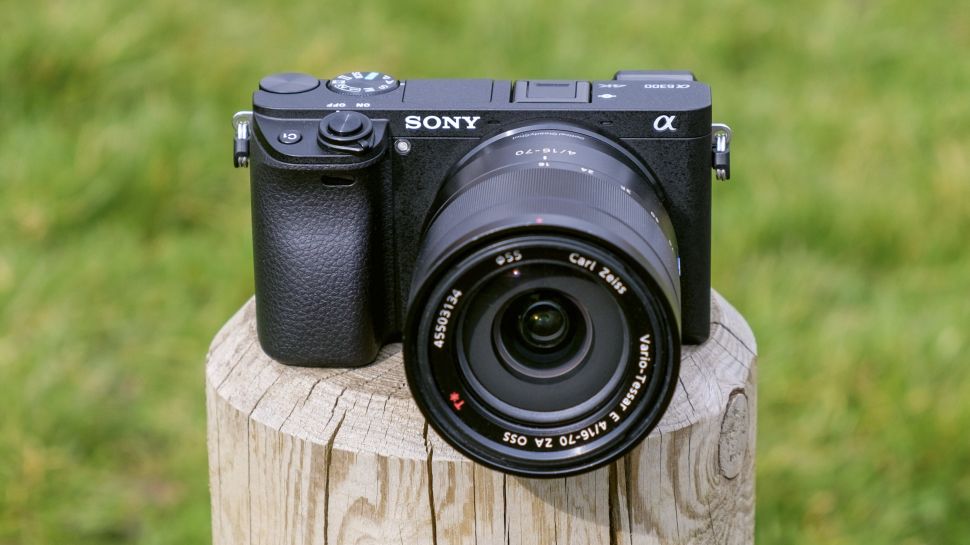
HomeAs the fastest mirrorless camera, the Sony A6300 supports to shoot crisp 4K video with XAVC S format at 30P, 25P, 24P which is compressed with MPEG-4 AVC/H.264 codec. For Premiere Pro CC users, can you directly load Sony A6300 4K XAVC S to Premiere Pro CC for professional post video editing workflow? The following article will explain the problems and offer some benefical solutions for this issue.
Workflow of 4K XAVC S with Premiere Pro CC
From Sony XAVC S workflow official page, we get the information that only the new version 8.2.0 of Adobe Premiere Pro CC natively supports to decode XAVC S 4K. It also means that if you are using the previous version of Premiere Pro CC, you will fail to import 4K XAVC S to Premiere Pro CC. Fortunately, you can use some third-party video conversion tool to convert 4K XAVC S to Premiere Pro CC supported file formats. To get a fast and fluid workflow of Sony 4K XAVC S with Premiere Pro CC, here, we would like to recommend you use Pavtube Video Converter for Windows/Mac (best Video Converter for Mac Review), which can efficiently rewrap or transcode 4K XAVC S to Premiere Pro CC specially optimized MPEG-2 file format for direct editing.
Besides converting A6300 4K XAVC S for editing with Premiere Pro CC, you can also utilize the program to transcode Sony 4K XAVC S for QuickTime playback or 4K TV viewing.
Trim/Merge/Crop/Split/Watermark Sony A6300 4K XAVC S
Want to do some basic video editing work before proceeding to the professional post-production workflow with Avid? You can done that job with our program with ease. The "Trim" function assists you to remove unwanted parts or segments form your video, the "Merge" tool helps to combine all the separate video clips into single one file, the "Split" option facilitates you to split large files into small parts by file size, length or count and the "Crop" tool enables you to cut off unwanted edges around the video.


How to Transcode Sony A6300 4K XAVC S for Editing with Premiere Pro CC?
Step 1: Transfer 4K XAVC S from Sony A6300 camera to computer.
The XAVC S format products are recorded on the fastest SD cards(SDXC), the recorded footage can be transferred to you computer in the following 3 ways:
1. Directly connect the camera/camcorder to the computer via a USB cable.
2. Remove the SDXC card from the camera/camcorder and then plug it into the computer.
3. Fit the computer via the SDXC media adaptor.
Step 2: Load Sony A6300 XAVC S files.
Click "File" drop-down "Add Video/Audio" or "Add from folder" option to add the Sony A6300 4k XAVC S files that have been transferred from your camera to your local hard drive.

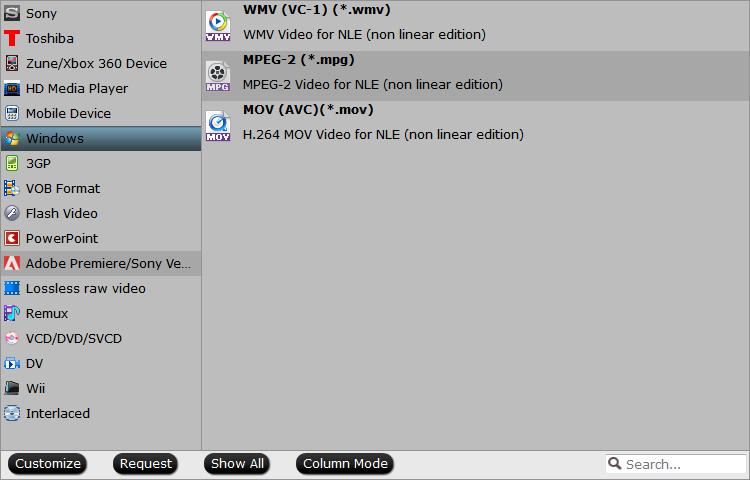
Step 3: Select Adobe Premiere Pro CC optimized output file format.
Click "Format" drop-down bar, from its extended list, select "Adobe Premiere/Son..." > "MPEG-2 (*.mpg)" as the output file format, you can also select to output Adobe Premiere Pro WMV or MOV file format according to your own preference.
Step 4:Start the final conversion process.
After all the parameter setting is completed, you can start the conversion process by hitting the right-bottom convert button.
When the conversion is done, hit the "Open Output Folder" button on the main interface to locate and find the converted files. Then continue with your post workflow to import media to Premeire Pro CC.
 Free Trial Video Converter


