This is the quick start guide showing how to use Pavtube iOS Data Recoveryfor Mac including guides of scanning, previewing, recovering and more.
Start Using Pavtube iOS Data Recovery for Mac
Part 1: Directly recover from iOS Devices
Part 2: Recover from iTunes backup
Start Using Pavtube iOS Data Recovery for Mac
iOS Data Recovery for Mac allows Mac users to recover data by two ways: Recover from iOS device and recover from iTunes backup. No matter which way you choose, the first step is to download and install the software on your computer. Then follow the way below to get back your data.
Part 1: Directly recover from iOS Devices
This mode helps you to recover lost contacts, messages, notes, calendar, call history, Safari bookmarks and reminders directly from iPhone 5S/5C/5/4S, The New iPad / iPad air /iPad Mini2 and iPod touch.
Step 1: Connect your iOS device to Mac
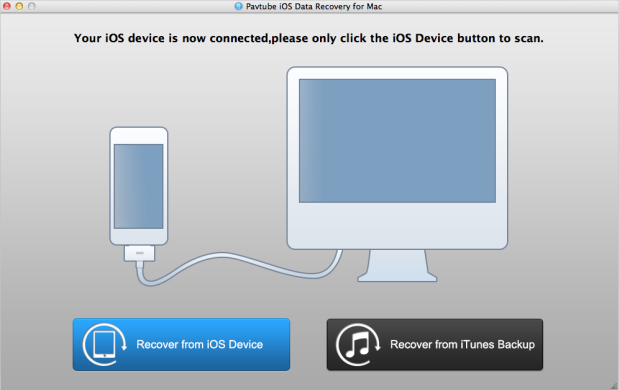
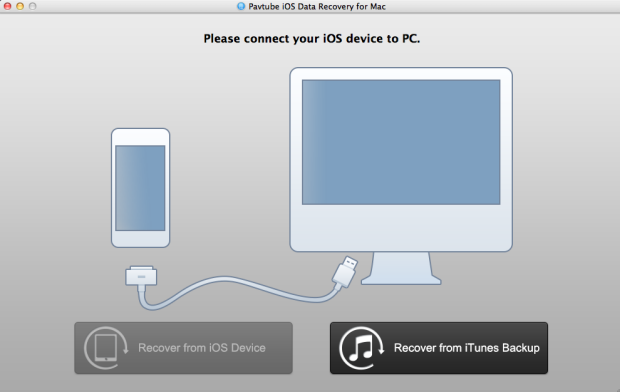
Run iOS Data Recovery on your Mac; connect your iOS device to Mac with USB cable. Then select the "Recover from iOS Device" to start the iOS data recovery job. You’ll see the window below.
Step 2: Start to scan your iOS Device
iOS Data Recovery scan your iOS device automatically ,after scanning finished, the files include photos, videos, contacts, messages, call history, calendar, reminders, notes and more stored on you iOS Device will displayed in the windows.
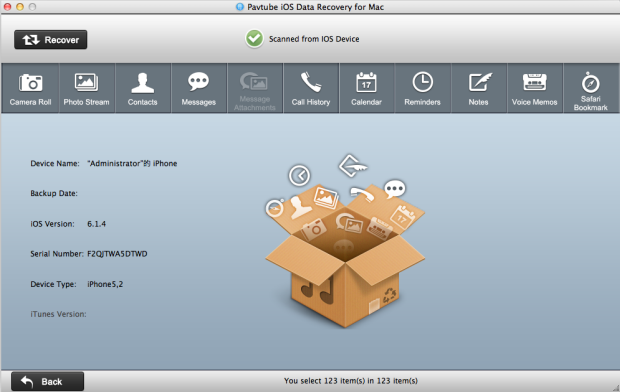
Notes: the scanning time depends on the number of the files on your device. So if there are lots of data on your device, please wait patiently until the software finish the scanning task
You can hit ![]() to suspend the scanning process or click
to suspend the scanning process or click ![]() button to cancel the scanning task.
button to cancel the scanning task.
Step 3: Preview the data and selectively to recover
In the scanning result, you can easily preview all data found on your device .Click the categories on the top side of the window like camera roll, contacts, messages, etc. You can preview all the details of them (except for videos).
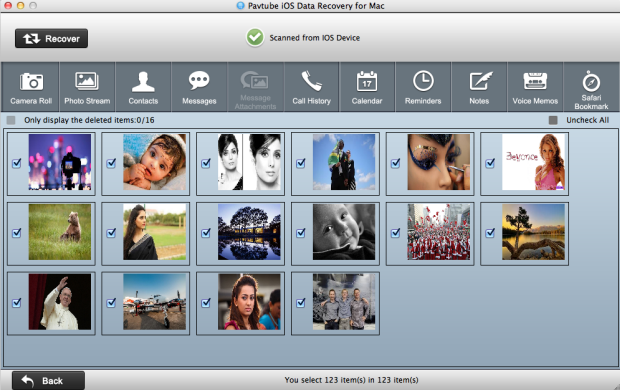
Mark what you want and click  button to save them on your Mac or click
  icon to return to the previous page.
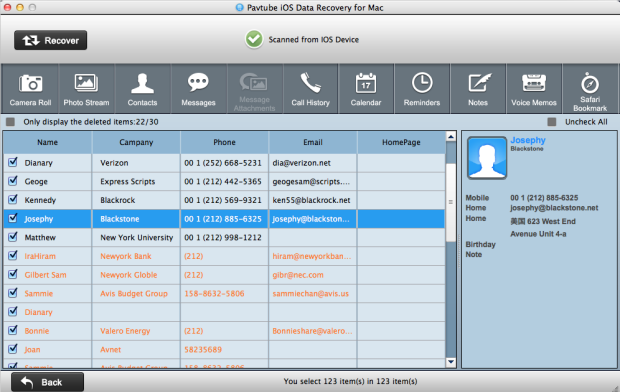
The data displayed in the scan result contains deleted and existing items on your device. They have different colors. If you want to separate them, you can check the box on the top: 
Part 2: Recover from iTunes backup
Pavtube iOS Data Recovery allows you to recover deleted contacts, messages, call history, notes, Calendars, reminders, camera roll, photo stream, message attachments and more from iTunes backup.
Step1. Select an iTunes backup files and starts to scan
Run iOS Data Recovery on Mac, Choose "Recover from iTunes Backup" On the main interface.
All the iTunes backup files on the Mac will be automatically found out and listed here.
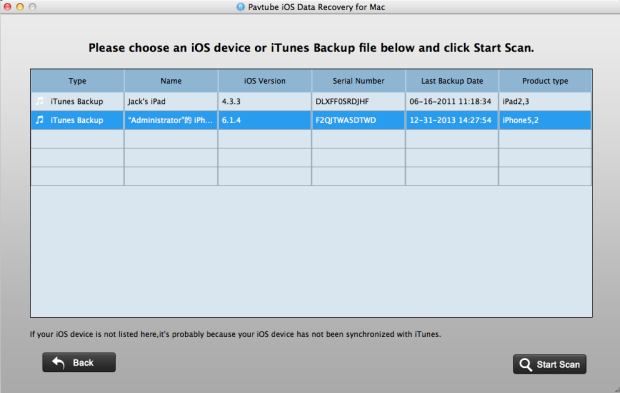
You can select the one you want and click  to extract it, if you want to choose other backup files please click
  to return to previous page.
Note: If your iTunes backup is not displayed here, it's probably because you have not synced your device with iTunes on this Mac.
A few seconds later all data in the backup file will be extracted and displayed in the scan result. The scanning time is determined by the number of the backup files. During the scanning process you are allowed to click ![]() to pause or click
to pause or click ![]() to stop the scanning task.
to stop the scanning task.
Step2. Preview and recover the data in the scan result
On the top side of the window, there is a bar containing tabs of camera roll, photo stream, contacts, messages, call history, calendar, notes, etc. You can click to preview them (except for videos) and select those you want to recover by click the  button at the top-left to save them on your Mac.
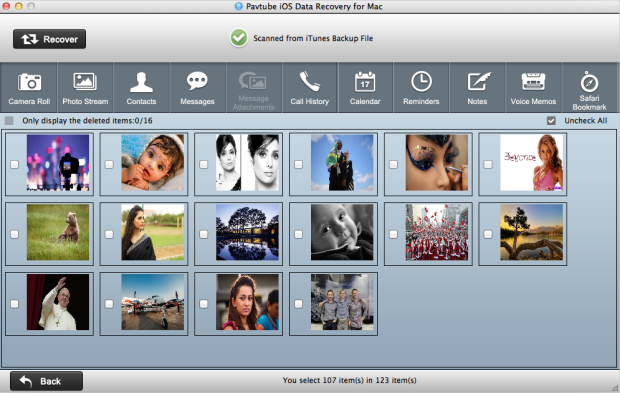
You can check the box  to unselect all files, and then select what you want one by one.
If you only want to regain deleted files, please check the box  to list deleted files only, so that you can easily restore the deleted files and save time.


 Home
Home


