
 Home
HomeThe first step to starting a project in Adobe Premiere Pro is getting your media files into this editorial system. No matter what kind of project you're doing, if you can't import media, you will get stuck. In this article, you'll learn about importing media files to Premiere Pro on Mac.
Overall, you can import media files into Adobe Premiere Pro in three ways:
1) Standard importing by choosing File > Import
2) The Media Browser panel
3) Adobe Bridge
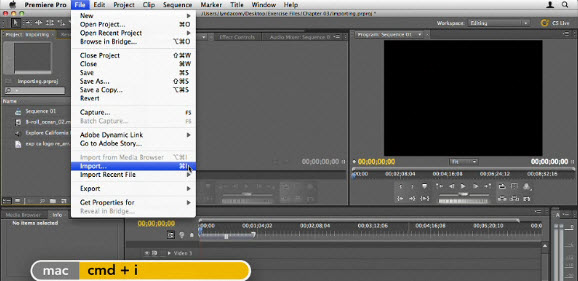
1) Standard importing
Standard importing is probably the most straightforward type of importing you can do. To import any file, choose File > Import. If you prefer to use keyboard shortcuts, press Command+I to open the standard Import dialog.
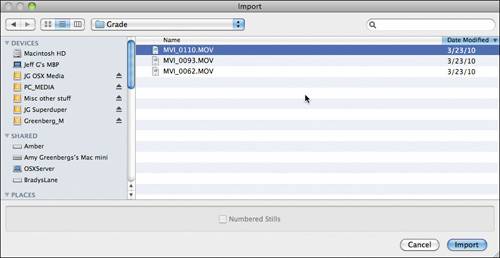
The Standard OS X Import dialog; note the search box in the upper-right corner.
Adobe Premiere Pro Likes Most Formats. You'll find that it can handle pretty much any file format you can throw at it. Don't ever be afraid to import a file to see if a clip can be used. If your media files are not compatible with Adobe Premiere Pro, simply transcode those clips to a format that is well supported by Premiere Pro using a video converter tool such as Pavtube iMedia Converter for Mac.
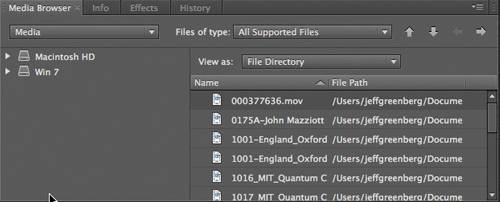
2) Using the Media Browser
The flexibility of Media Browser makes it superior to the standard file system import. Not only does it display the files in a straight list, but it also adjusts the view using the metadata. Being able to see this metadata makes it far easier to select from long lists of files or shots.
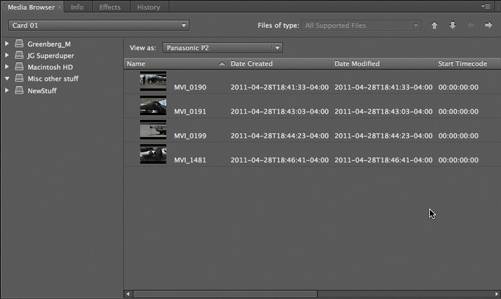
The Media Browser has the capability to display clips and cards from popular formats like P2 and XDCAM.
Adobe Premiere Pro's Media Browser automatically recognizes camera media, meaning that if you navigate into a directory of XDCAM, P2, or Red files (amongst others), it will auto recognize the footage. This makes it easy to use and adjust metadata from the field.
3) Adobe Bridge
Most people encounter Adobe Bridge via Adobe Photoshop. In case you've never used it, it's a dynamic media browser - think of it as a file browser on steroids. It's a media browser that is optimized (right now) mostly for still photography, but has loads of power for video users.
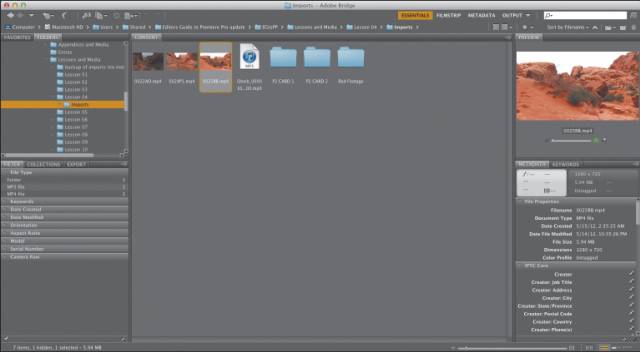
Adobe Bridge is a versatile program in its own right. Notice Filtering on the left side and Video Metadata on the right side.
You can manually open Adobe Bridge by clicking its application icon. You can also choose File > Browse in Bridge to automatically launch Adobe Bridge and point it to the same directory that the Media Browser is viewing.
The only downside to Adobe Bridge is that it doesn't recognize all formats. It handles images and QuickTime files just fine, but it doesn't recognize file-based cameras or image sequences. For those formats, use the Media Browser.
 Free Trial iMedia Converter for Mac

Useful Tips
- How to convert MXF to H.264 for Premiere Pro?
- MTS and Premiere Elements workflow - making 1080p/720p MP4 from AVCHD footage
- Adobe Premiere Pro Supported Formats – video and audio, camera, still-image (sequence), closed captioning and subtitle
- How to Import MP4/MOV/AVI to Photoshop CS6/CS5/CS4 for editing on Mac
- Adobe Premiere Pro workflow: How to import Media Files to Premiere Pro on Mac
- Why can't Premiere Pro and Final Cut Express 4 import my AVCHD files?


