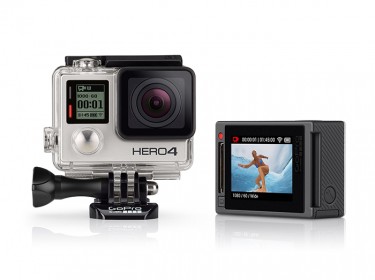
During the summer vacation, it would be very amusing to take some outdoor sports activities such as diving, climbing, baling, etc. With GoPro Hero camera, all your great adventures can be easily captured and recorded. Before sharing those great moments with your family and friends, you may wish to polish your GoPro Hero camera video footage with some simple video editing works such as joining separate video clips into one complete file, remove one of unwanted parts from a video clip or personalize your video with special rendering effect, etc.
If you are looking for a simple and workable solution, you can have a try at Pavtube Video Converter for Windows/Mac (best Mac Video Converter Review), the program has full support for the 4K/2K/HD/SD H.264 MP4 video recorded with GoPro Hero camera. You can convert GoPro Hero video to virtually any file formats or device preset profile formats for viewing on computers, smartphone, tablets or TV, game consoles, etc. With its distinctive and versatile video editing functions, you can do the following work:
- Trim video length to cut off unwanted segments from the video
- Split large video into small by file size, count or length
- Merge separate
- Crop to get rid of the black edges and unwanted area of the image from the video
- Add image/video/transparent text watermark to the selected video clip to make it more personalized.
- Apply special effects like Simple Gauss Blur, Flip Color, Invert, Aged Film to your source video or correct color by adjusting brightness, contrast, and saturation. You can also tick off "Deinterlacing" to keep good image quality.
- Replace/remove original audio, or set audio fade in/out effects.
- Add external ASS/SSA/SRT subtitle files to video files as hard subtitles.
If you are a skilled video editor and wish to load the GoPro summer vacation video into professional video editing app like Premier Pro CC, Sony Vegas, Final Cut Pro, Avid Media Composer, etc, you can still use our program to generate the professional video editing codec such as Apple Intermediate Codec, Apple Prores, DNxHD, etc for fast and fluid video editing workflow in NLE video editing app.
How to Edit GoPro Hero Summer Vacation Video on Windows and Mac?
Step 1: Load video files to the program.
Start the GoPro camera video editing program computer. Click "File" > "Add Video/Audio" or "Add from folder" to import source video files to the program.
Step 2: Edit videos.
Click the "Pencil" like icon on the main interface of the program to open the "Video Editor" window, then start the fantastic video editing trips:
Merge
On the main interface, check "Merge into one file" option to combine all your separate video clips into one single file.

Split
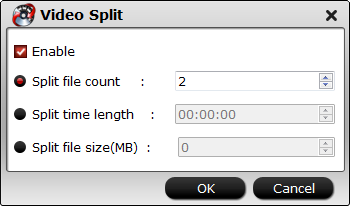
Click the "Split" button  under file list to launch the "Video Split" window. Checking "Enable" to enable it, and then you can split the file by file count, time length, or file size.
Trim
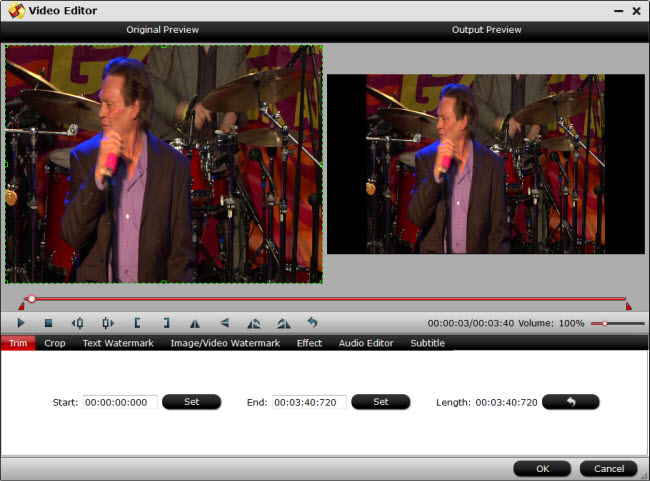
Switch to the "Trim" tab, drag the slider bars to set the start time or ending time to include the segments you wish to be converted or click the square brackets to set the start point or ending point when preview the video, you can also directly input specific value in "Start" and "End" box to select the converted clips.
Crop
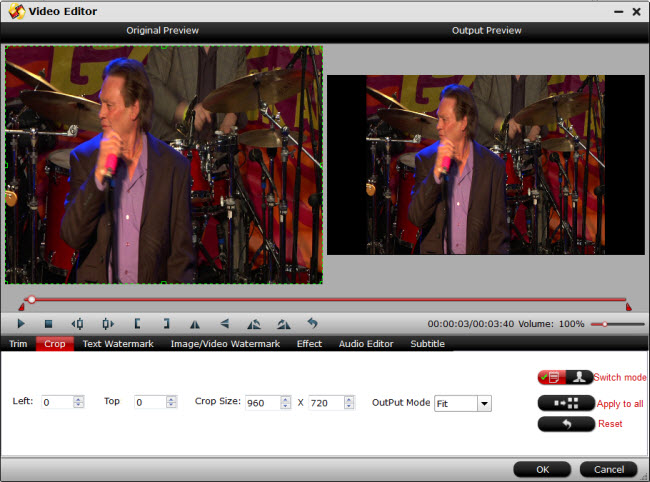
Click "Crop" tab, simply move your mouse cursor to drag and adjust the green frame to desired position or crop video be setting specific values in the box of "Left", "Right" and "Crop Size" under "Simple Mode" and type in specific values in the box of "Left", "Top", "Width" and "Height" under "Advanced Mode".
Watermark
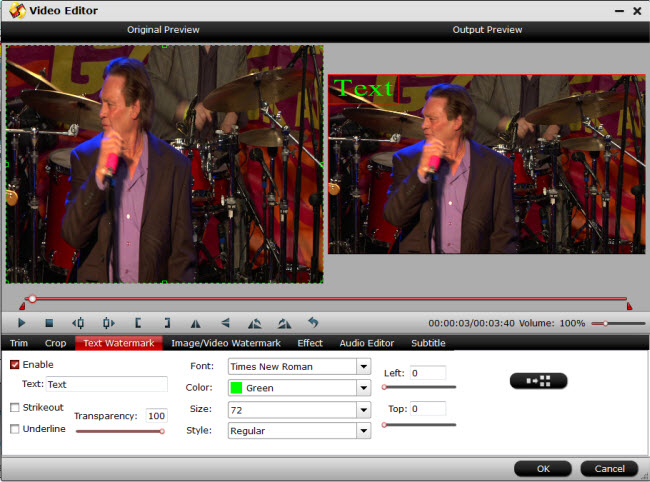
Go to "Text Watermark", check Enable to add text watermark to selected video clip. You can either set parameters or drag the text on preview screen to set its location.
Switch to "Image/Video Watermark", Check Enable to add images or videos as watermark onto selected video file. The location can also be set by dragging on the preview screen.
Text Watermark
Effect
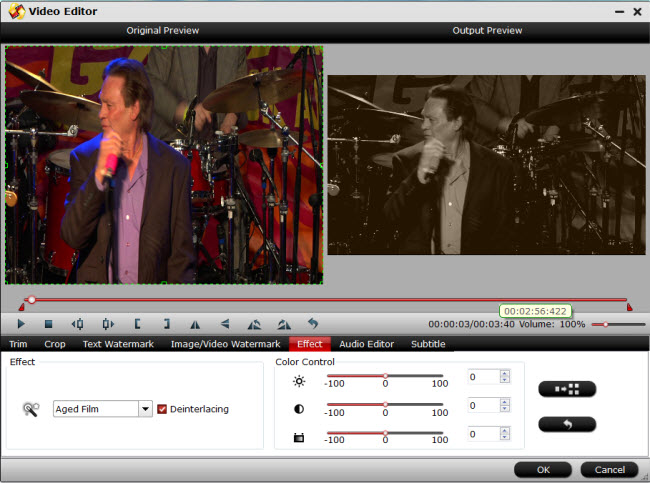
Under Effect tab, you can add special effects like Simple Gauss Blur, Flip Color, Invert, Aged Film to your source video. In Color Control section, you can correct color by adjusting brightness, contrast, and saturation. You can also tick off "Deinterlacing" to keep good image quality.
Edit Audio
Replace/remove original audio, or set audio fade in/out effects.

Subtitle
In this tab, click browse button to add *.srt or *.ass/*.ssa online downloaded subtitle-files to the video as hard subtitles.

Step 3: Choose output file formats.
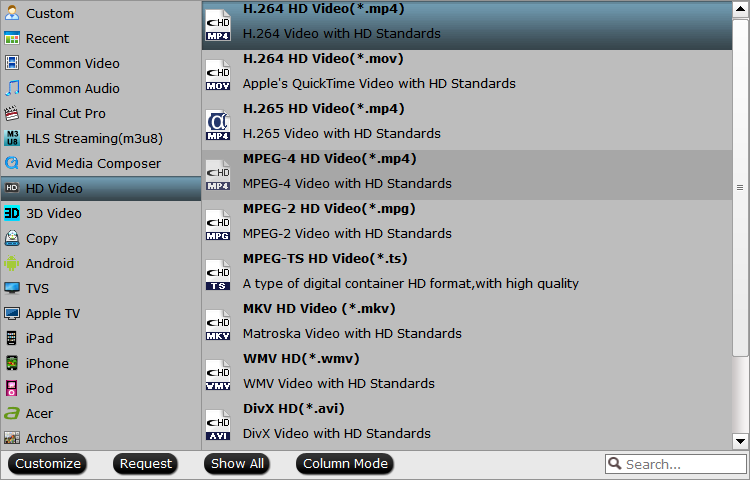
To make the output video more compatible for further usage, the program provides various video and auio formats and devices or applications preset file formats for you to output. You can choose one of them as your final output file format according to your own preference.
Step 4: Start conversion.
Browse your computer hard drive to find the final destination to store the converted files. Then hit right-bottom "Convert" button to start the video conversion process.


 Home
Home Free Trial Video Converter


