The updated Adobe Premiere Pro CC 2015 has expanded on its exceptional support for UltraHD, 4K and beyond workflows with new, native support for HEVC (h.265), DNxHR, and OpenEXR media, for both encode and decode, allowing editors to edit and deliver any format they need to.
For DJI Osmo users, is it possible for you to import DJI Phantom 4K video to Premiere Pro CC 2015 for native editing?

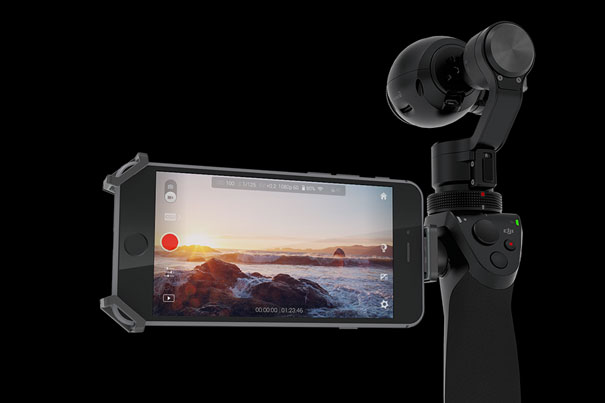
It is well know that DJI Osmo record 4K video in MOV container file format compressed with MPEG-4 AVC/H.264 codec, although Premiere Pro CC 2015 has the ability to hand 4K video and also provides native import support for H.264 AVC codec used by DJI Osmo 4K video. However, you may find the post video editing workflow is not that satisfatory in the following two aspects:
1. H.264 codec is very process-intensive, and the process of decoding H.264 will require a lot of processing power and therefore it will cost a long time to decoding the codec.
2. H.264 codec uses much higher compression ratio than other codec, you will suffer a lot of quality loss to editing directly with this codec.
To eliminate all the problems listed above, it would be much ideal for you to transcode DJI Osmo 4K to Premiere Pro CC 2015 best editing codec - MPEG-2 with this professional program - Pavtube HD Video Converter for Mac (review). The program has perfect ability to handle DJI Osmo 4K video footage and and allows you to directly generate Premeire Pro CC 2015 specially optimized editing codec for high performance and high quality post working.
Besides producing Premiere Pro CC 2015 preset profile formats, you can also use this program to convert DJI Osmo 4K video for editing with iMovie/FCE, FCP X, Davinci Resolve, Avid Media Composer or uploading and sharing on YouTube/Facebook/Vimeo.
For Windows users, you can do the same conversion with Pavtube HD Video Converter on Windows 10/8/8.1/7.
How to Transcode and Edit DJI Osmo 4K Video with Premiere Pro CC 2015?
Step 1: Transfer DJI Osmo 4K recorded footage to Mac computer.
The DJI Osmo records 4K video footage on an SD card, you can remove the SD card from the camera, insert the SD card to a card reader, then plug in the card reader into your Mac computer SD card Port for transferring the video footage to your Mac local hard drive.
Step 2: Import DJI Osmo 4K videos.
From "File"drop-down option, select "add Video/Audio"to add source Osmo 4K video files to the program.

Step 3: Output Premiere Pro optimized file format.
Click the "Format" bar and switch to "Adobe Premiere/Sony.." option and select "MPEG-2(*.mpg)" as the output format for non-linear post work-flows in Premiere Pro CC.

Step 4: Start video conversion process.
When all the setting is completed, go back to the main interface, hit right-bottom "Convert" button to start DJI Osmo 4K video to Premiere Pro CC optimized MPEG-2 codec conversion process.
When the conversion is completed, you will have no problems to import DJI Osmo 4k video to Premiere Pro CC for professional video editing on both Windows and Mac.
Useful Tips
- Review of 5 Best HD Video Converter for Mac (macOS Sierra Included)
- Import DJI Mavic Pro 4K video to iMovie for Editing
- Import DivX to iMovie (iMovie 11 Included)
- How to Convert ASF to iMovie (iMovie 11 Included) on Mac?
- Superior iMovie Alternatives for Mac (MacOS Sierra)
- 2017 Top 5 Best HD Video Converters for Mac OS X El Capitan/Yosemite/Mavericks


 Home
Home

 Free Trial HD Video Converter for Mac


